This chapter discusses how the ‘Exchange Excel Import’ works. The Excel Import is used to quickly create large quantities of stock lines through an automatic import, within the Exchange module of RetailVista. The advantage of using Exchange, is that the new lines do not transfer directly in the product administration after import, but that they first end up in the ‘Exchange Lock’. A check can then be made, as to whether the data is correct and if price changes need to be made, before importing the details.
Start Exchange
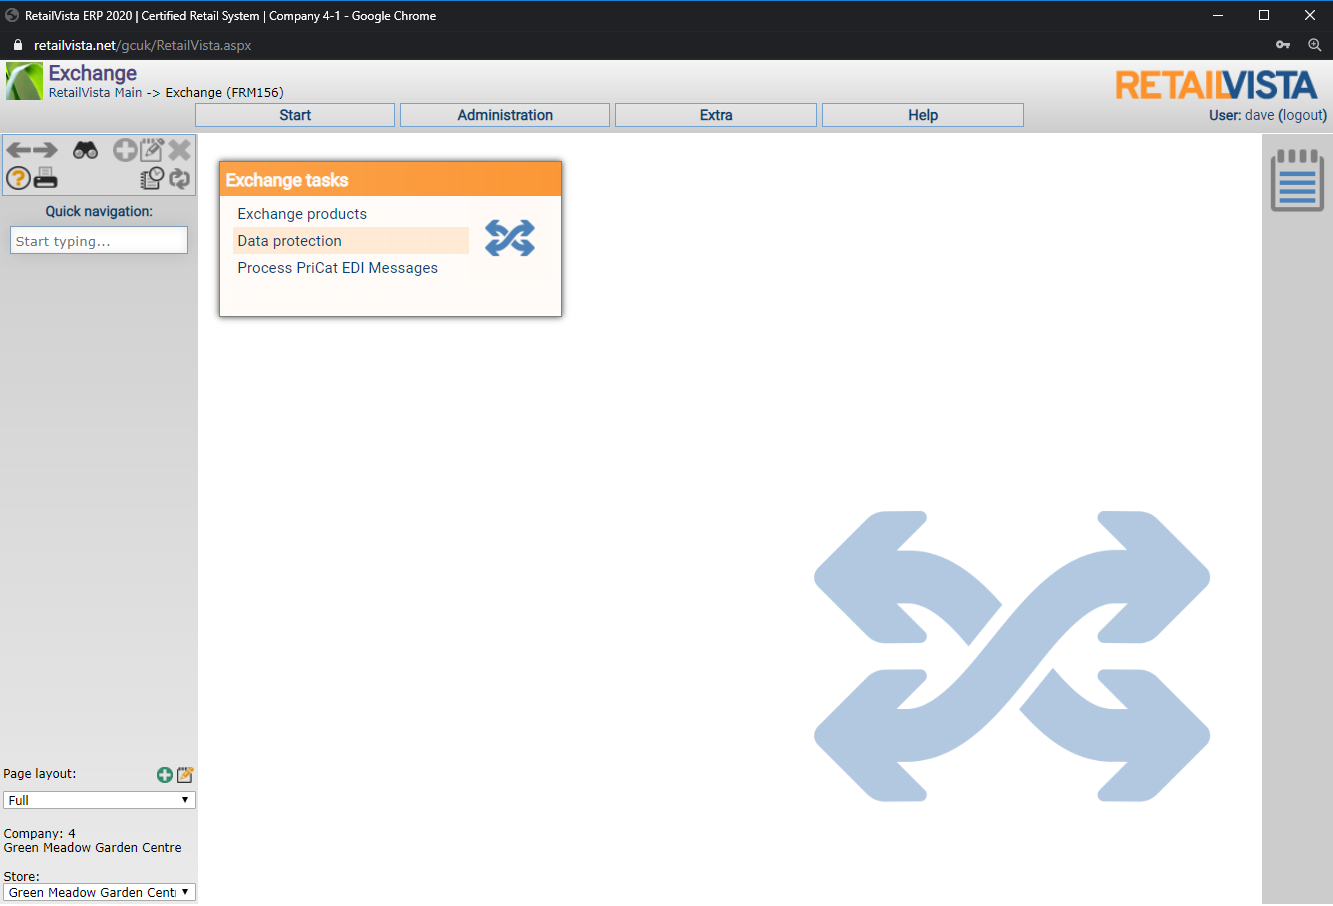
-> Start -> Exchange -> Exchange products
By starting Exchange, "Exchange Tasks" is created in the menu on the left. There you will find the menu item "Excel Import".
After starting this menu selection, the following screen is shown. An Excel file can be specified in this, which should be processed. A profile can also be selected, or a new profile created. A profile is a set of settings for importing a certain Excel file.
Each supplier will provide Excel files in its own way, with its own format. But it can be assumed that every supplier will provide the same lay-out, every time. By creating the settings for a supplier once, and saving them in a profile, that profile can be
used for all future imports of that supplier. Choose a spreadsheet. Choose a profile (if applicable)
By clicking on "Next", the following screen appears, in which data can be entered. An Excel file can contain multiple sheets/tabs. The first sheet/tab is specified by RetailVista as ‘Standard’.
In the Excel import process it can be specified that purchase data must also be imported. In that case it is important that the supplier is identified for which purchasing data is being imported. In addition,
it is often the case that no ‘purchasing unit information’ is included in Excel files. However, RetailVista does require a purchasing unit, as part of the purchase information. For this reason, a fixed purchase
unit can be set in the import screen, that applies to the entire file to be imported. If the purchase unit is not specified, it must be on every line of the Excel sheet and must be mapped to RetailVista via
Excel Import as a column.
Choose "First row to read".
Specify "Read Number of Rows" or leave as all rows.
If the VAT rate is not specified on every line in the Excel fil, a VAT rate must be specified for the entire file.
The same applies to the ‘Classification level 1’. If this is not indicated on each line, then the classification level 1, must be specified for the entire file.
The specification of the standard product category and missing product category is only possible, if the settings of RetailVista indicate that different product categories are possible. After all, the
product category is generally determined by means of the selected classification level 1. If the product category can be set, it can be indicated that this is achieved via the classification, or that the
product category appears in the file to be read on each line. It is also possible to indicate a fixed product category, that applies to the entire file.
Finally, it can be specified that purchase data must also be imported. If that applies, supplier information must be specified.
The below screen indicates what to do around the product Barcode - Fill as appropriate to the data.As well as scheduled price changes and free field controls. 
By clicking on 'Next' again, the following screen will appear, in which the settings can be specified per column. When starting this screen, the data from Excel row 1 is indicated in the ‘Data’ column.
Then you can map per Excel column to the relevant field in RetailVista. Use the green "Arrow up, arrow down" buttons next to the row number to jump to the next or previous line. This makes it possible
to quickly get an overview of whether the data from the Excel file will look good within RetailVista.
The most common mapping fields are listed here
Description
ClassificationLevel (1,2,3,4,5 depending on how deep the product needs to live)
VAT Rate
Barcode (you can generate one if the data does not contain it and print a label)
GrossPriceIncVat
(and if adding purchasing information)
Supplier
OrderCode
PurchasePrice
PurchaseContentUnitToConsumerUnitFactor - CaseQtys (Units or Cases)
As mentioned earlier in this guide, it is possible to create a profile for importing a file from a specific supplier. Set your mapping and by clicking on the disk icon on the far right in the screen above,
all settings made can be saved. This also applies to settings such as classification, product category, VAT etc, from the previous screens
By clicking on the ‘disk icon’, a description of the profile can be specified.
Click "Next" again, to start the import. A question is then asked, whether a test import must be carried out, or whether the data will immediately be created definitively in the Exchange lock. The advantage
of a test import is that a report is created of the processing, but that the data does not actually end up in Exchange. It is then possible to first evaluate the report and check whether the Excel file is correct
and whether all column settings are correct. After that choice, a progress bar will appear, that shows the progress of the import.
Note: Importing Excel files is a "background process". It is therefore not necessary to wait until the import is complete. Via the menu Extra -> processes", the status of the import process can be requested
at any time and the final import report can also be viewed afterwards.
By waiting for the import to be processed, the following screen will appear in which the report of the import is shown. The number of successfully processed data rows is important in that report. Of the
rejected/unread rules, the reason why it has not been processed is indicated, per line.
It is best practise that unless absolutely certain a test import should be performed first and the following report studied
Test Import Report Example Below
If the test seems ok, click Previous -> Next -> No
This will start the real import
Successful Import Image Below
The above images show that the file has been successfully imported and that all rules have been accepted. By clicking on "Finish", and then starting Exchange again, the imported data will be visible.
It is therefore not necessary to first choose "Fill Exchange", because the data is already in the lock.
Click Finish -> Next
You will then see the filters screen. You can choose filters to select new goods or modified goods or more. You can set the filters yourself.
Click next
You are then shown the products before they are processed and added to the system. In this instance I will select all by clicking the first check box at the top of the screen
If everything is looking OK so far - Click Next -> Process
Note the various clear options on the screen based ont h e selctions made in the previous image
It is always best practise to check a few products after a import. Please pay p articular attention to the Purchase Information ensuring it is correct. Then also please double check your gross profit percentage (margin).
If case quantitys are not correct or there has been an issue with the mapping then this will be highlighted by a very odd margin. The example below is perfect. 1 Case of 5 units - Sold at a 50% gross profit percentage (margin)
Special Operations
It is sometimes necessary that further special operations must be performed on certain columns of the data to be read. This could involve converting descriptions to lowercase letters, removing high-ascii
(special characters), removing spaces, etc.
Behind every Excel column, there is an icon on the far right to create special properties per column.
Summary
Exchange is a very versatile module, that can be used in many ways. This course provides a number of general guidelines, for using Exchange.
In practice, as part of the RetailVista implementation, time will tell whether the recommended methods correspond to how a company works in practise.
This may show that small variations will arise, in the processing of product mutations. In general, it can be said that it is important to eliminate all mutations as quickly as possible, that do not
result in a price change. What remains, is a set of product mutations that really require attention.
The Excel import makes it possible to import larger amounts of data. By using import profiles, putting together an import definition will take a little extra time. However, this time is more than
recovered in subsequent imports. Currently, Excel sheets up to and including Excel 2007 can be imported.
Fields Key
The following should help you with the mapping of the data in RetailVista. Remember - you can save profiles so you do not have to map everytime a supplier sends you a new spreadsheet.
There are a number of fields which can be mapped in RetailVista
There are some that in general are always used when importing a new spreadsheet with purchase information.
Description
ClassificationLevel (1,2,3,4,5 depending on how deep the product needs to live)
VAT Rate
Barcode (you can generate one if the data does not contain it and print a label)
GrossPriceIncVat
Supplier
OrderCode
PurchasePrice
PurchaseContentUnitToConsumerUnitFactor - CaseQtys
Units or Cases